Procedure restoration of old pinball playing fields

In the following, we will show you step by step how we proceed with a playfield repair and show you various procedures. We also go into the specifics of the different models (electromechanical - modern pinball) and manufacturers.
The initial situation
 Environmental influences such as heat or humidity, direct sunlight, improper storage, playing with rusty balls over a long period of time (...) all these factors destroy a playing field with partial play down to the wood, chipping in the wood (especially in ejector holes and edges), fading of colors due to UV light or even damage to the inserts.
Cleaning the playing field

Scanning the playing surface
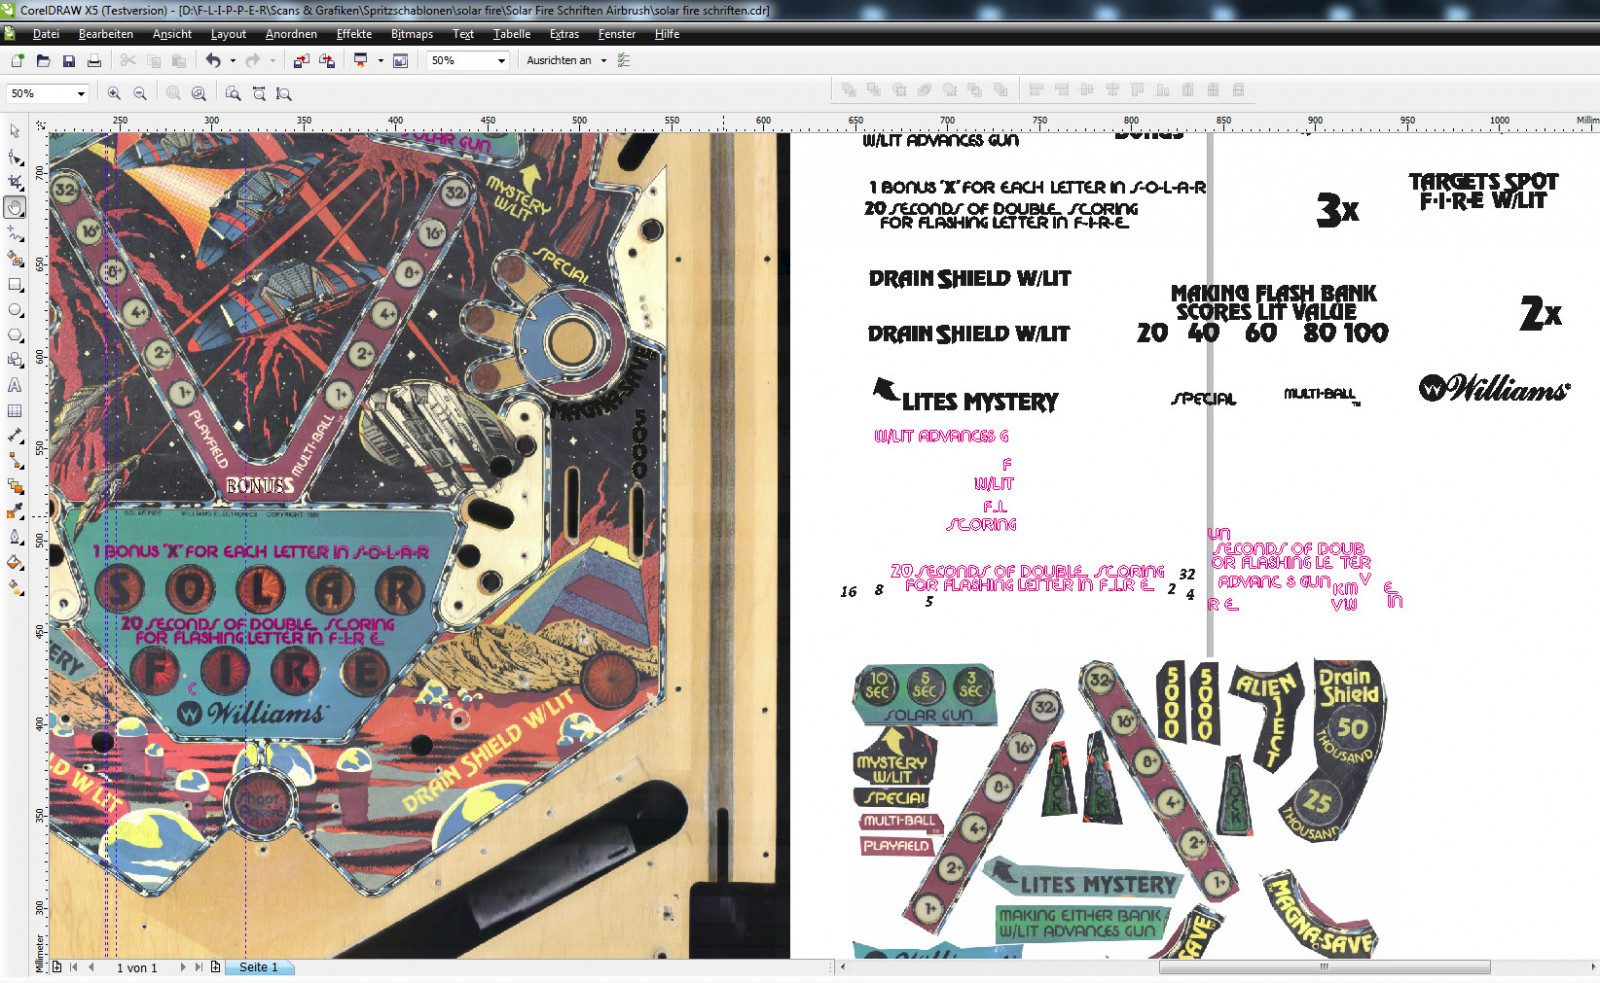
Before we start with the actual restoration, we always scan the playing fields. Only in this way can we be sure that we can restore the playing fields completely - no matter what may happen in the course of the work. We also create templates for any inscriptions that need to be renewed or can create spray templates for damaged areas.

Removing mylar film
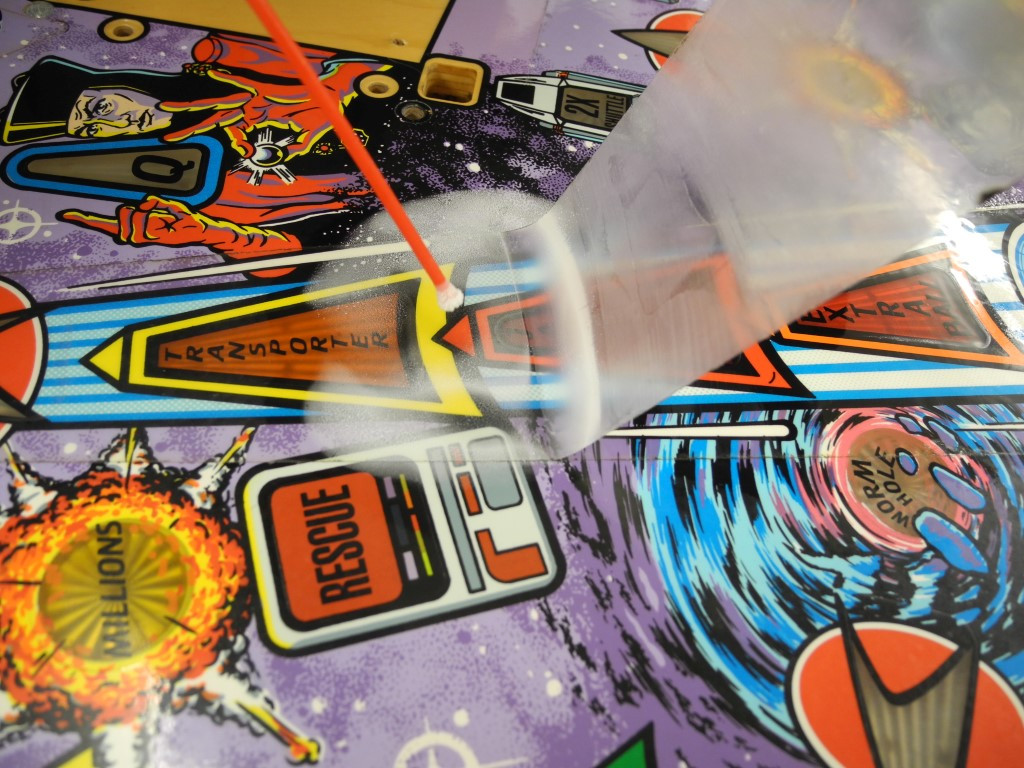
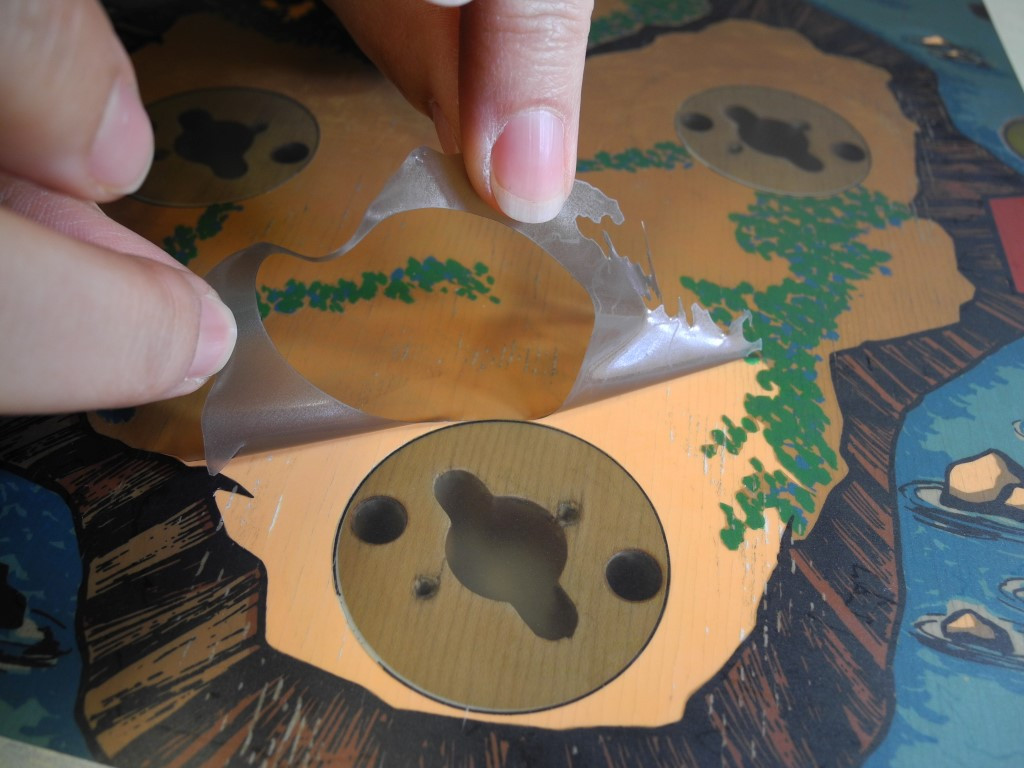
Here we can draw on a long experience. The removal of mylar foil is always a critical point. Removing Mylar film without damaging the playfield depends on many factors: we have noticed great differences in the removal of films from different manufacturers of pinball machines - for example, playfields from Data East are always very critical, as well as playfields from Bally from the EE era (approx. 1978-1985) can be problematic. Also, often a protective foil of newer date was applied afterwards with enormous adhesive power.
When removing the foil, we exclusively use the method with cold spray. Here, the film is iced piece by piece and thus removed. In our experience, this is the gentlest method. The big disadvantage here is that the entire adhesive remains on the film and often has to be removed in hours of painstaking work. No adhesive residue should remain on the playing field, as the coating would simply not hold on these areas later.


Filling spalling
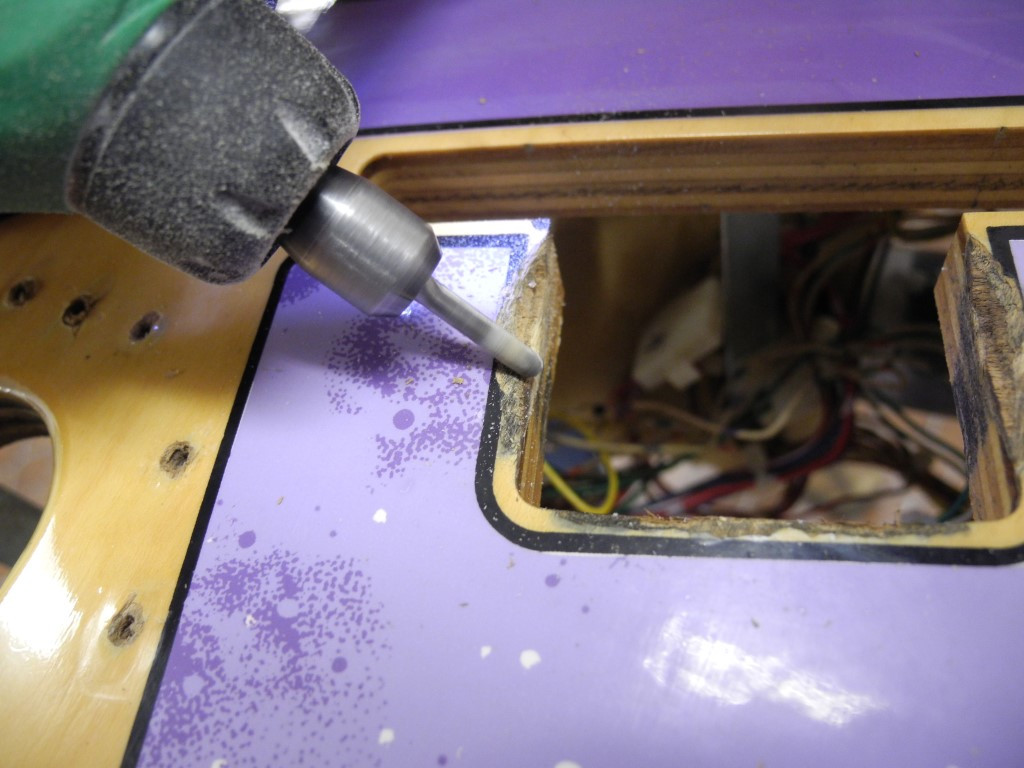
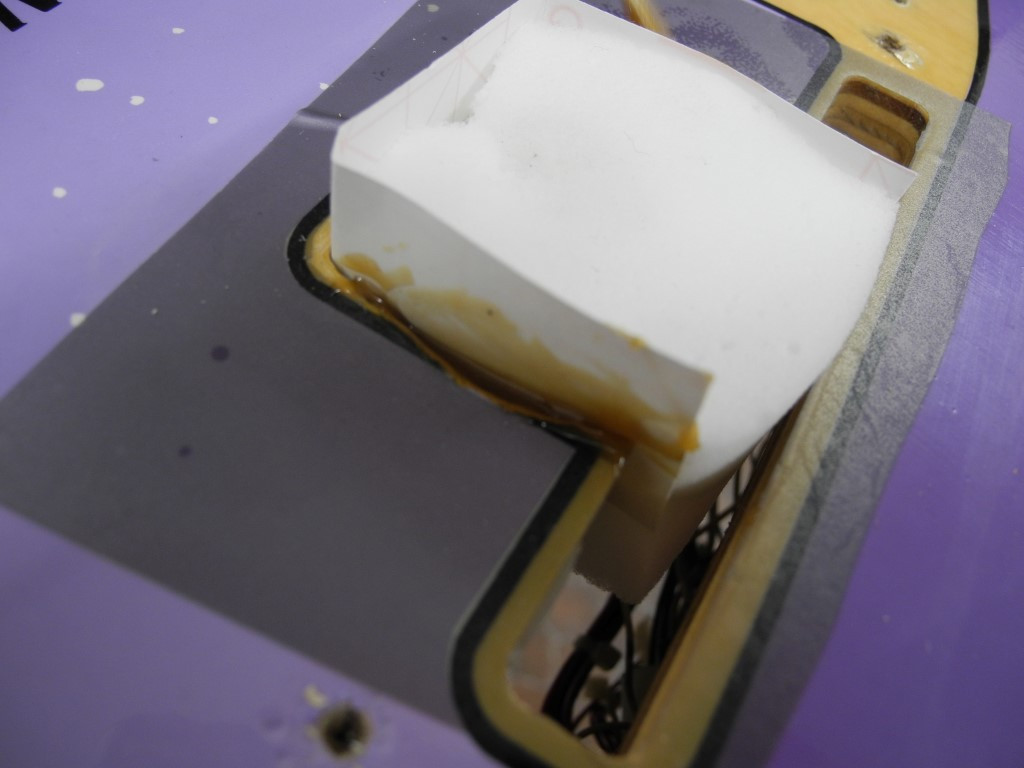
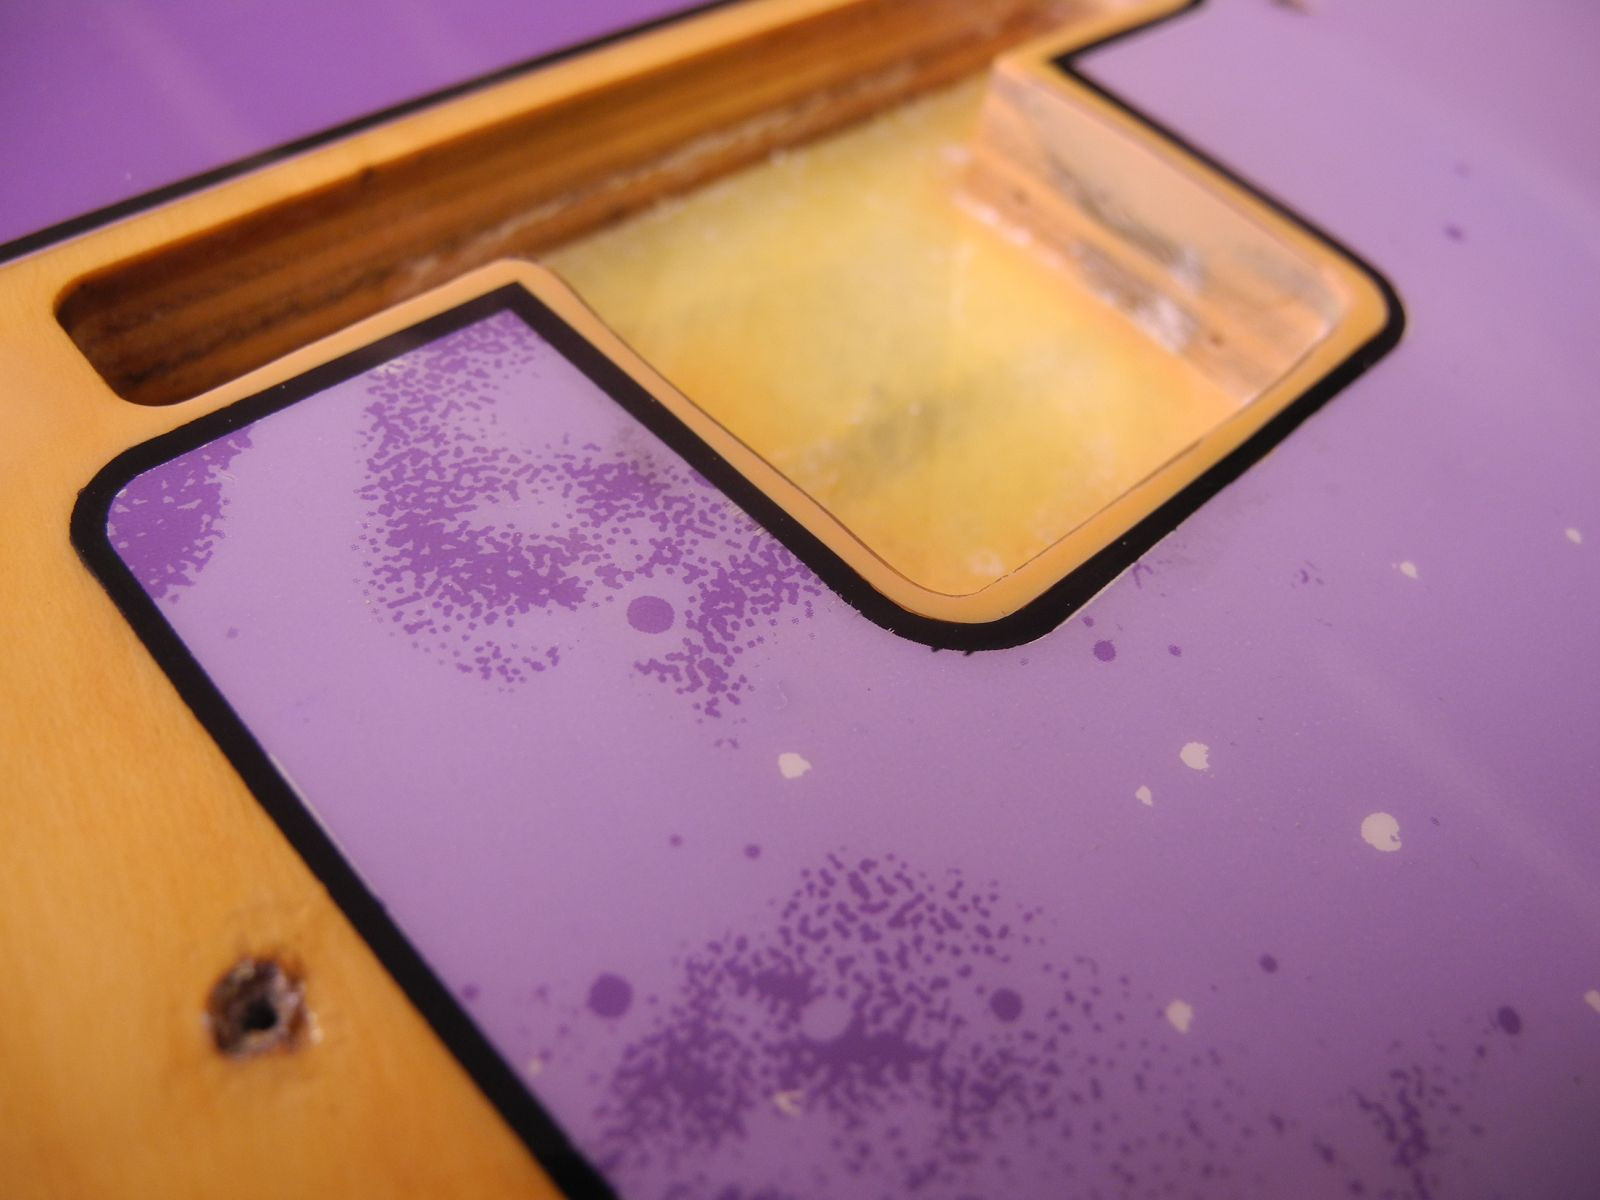
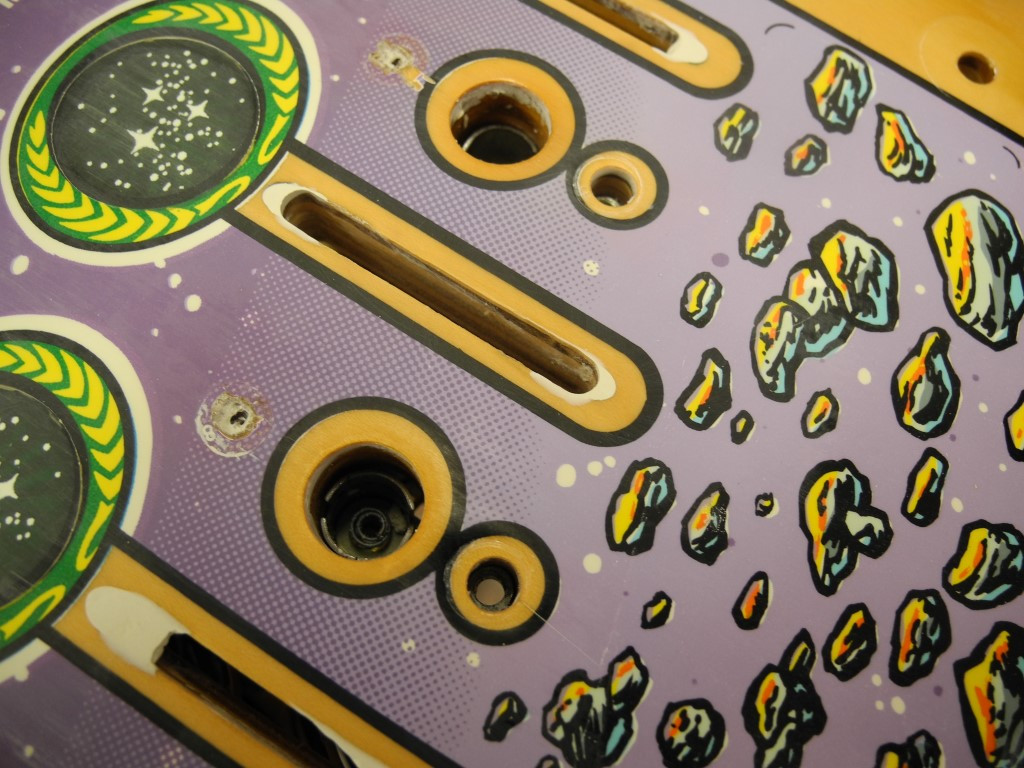
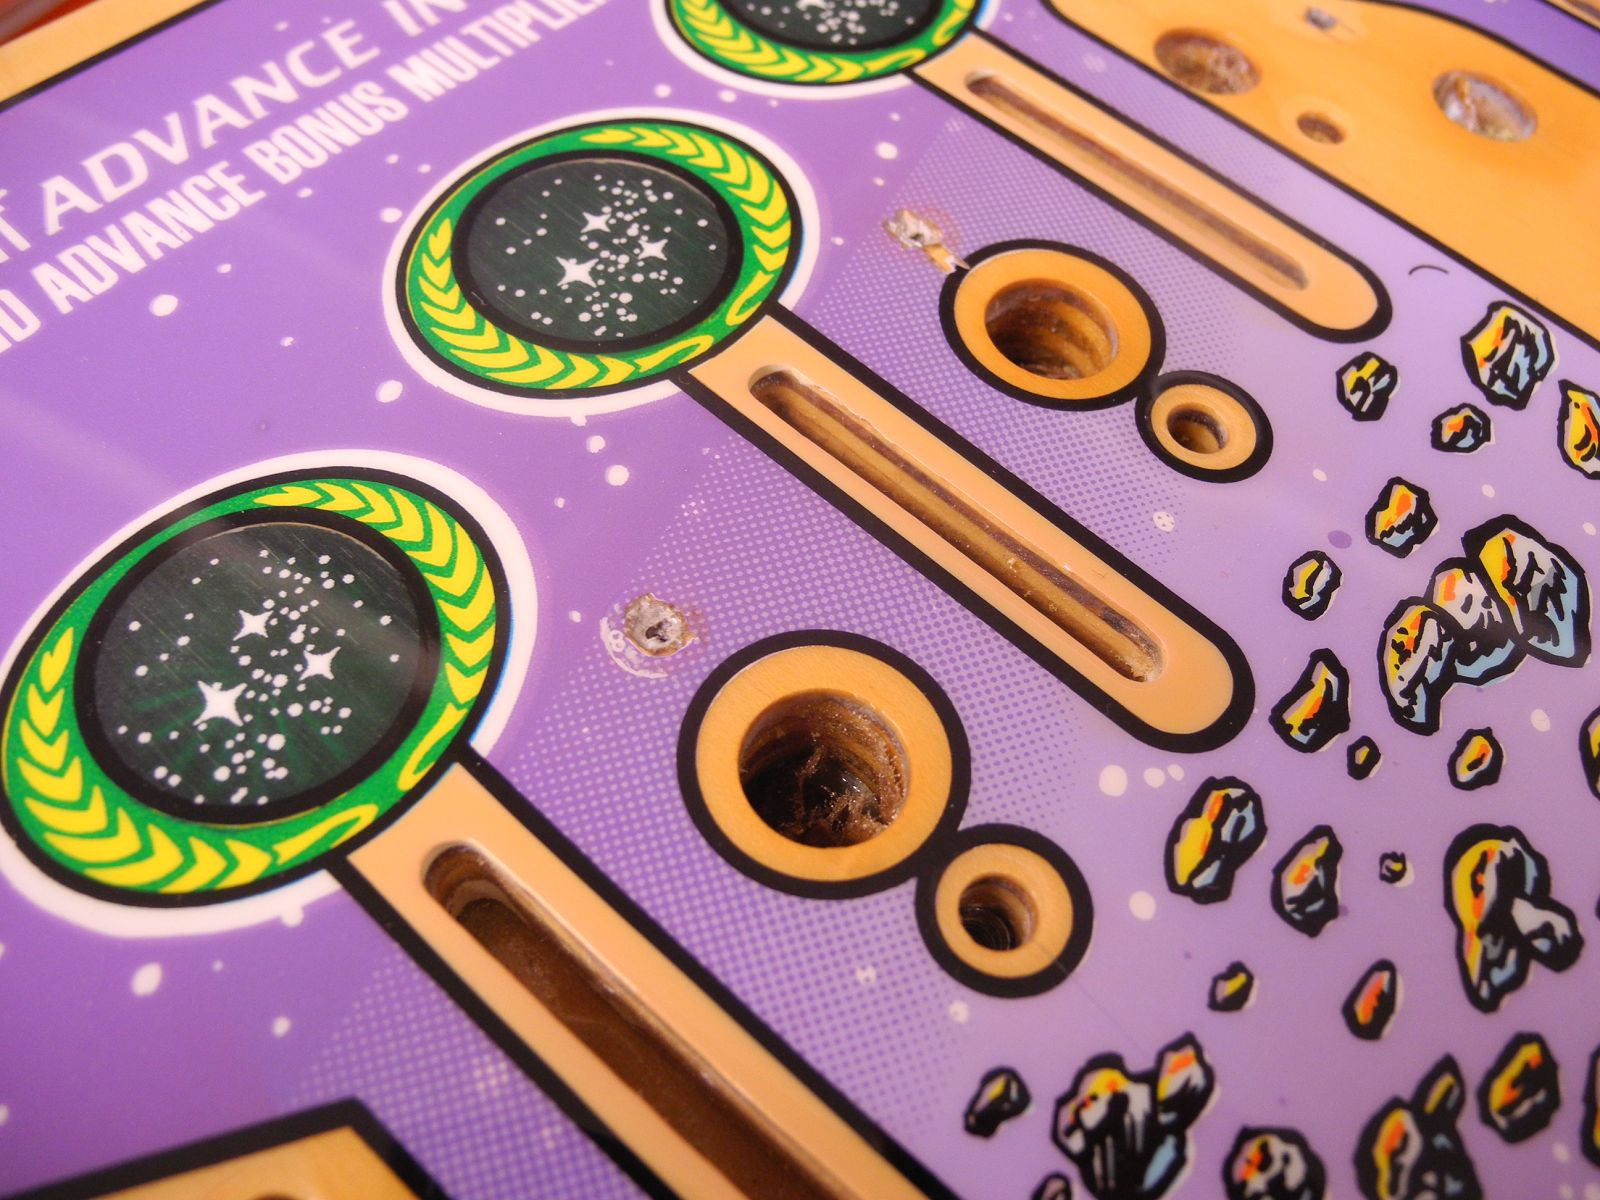
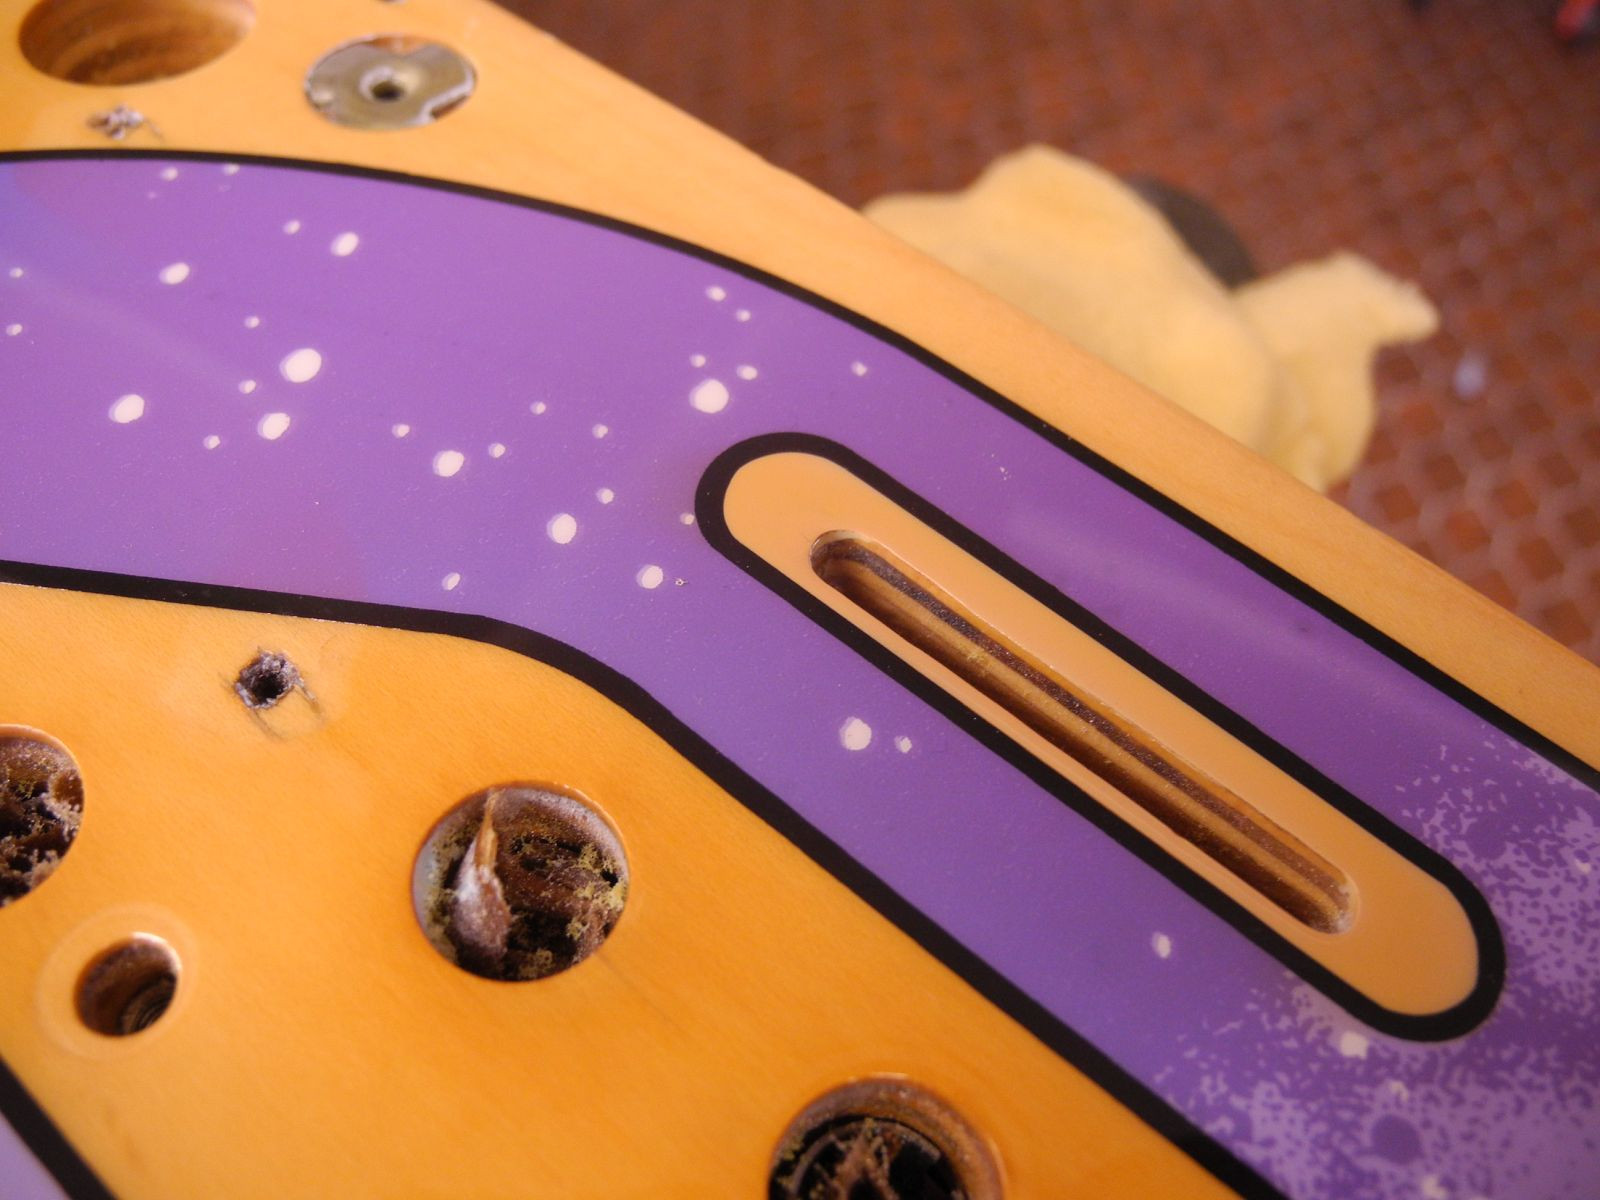
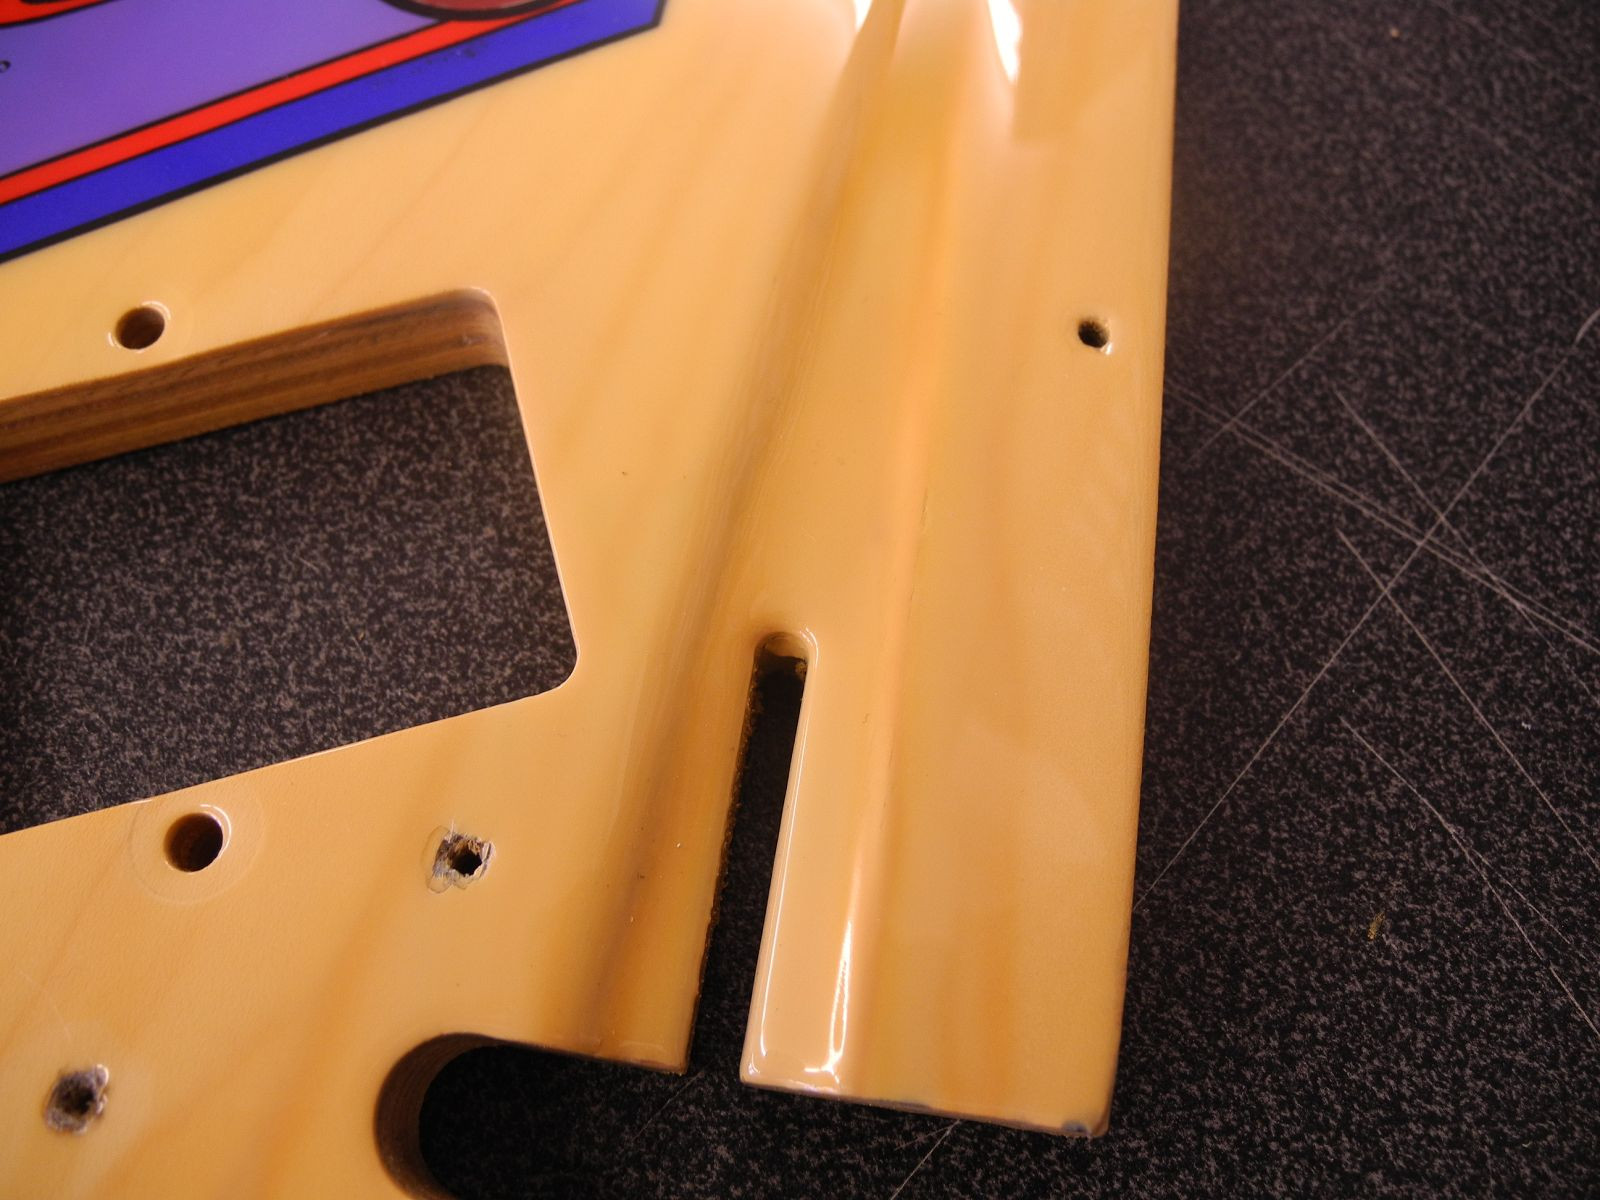
ALL damages on the pitch are repaired by means of various fillers and putties (depending on how much the place is stressed by the ball, we use different materials). Thus, the shapes of the holes are rebuilt, edges are restored - almost all long holes of the playing field contacts have dents at the entrances and exits. Here, the porous wood is removed by machine and the original shape of the slots is restored, and later these places are renewed by means of "wood paint". After these areas have been filled, they are brought back into shape by means of sanding and filing.




Crow's feet removal
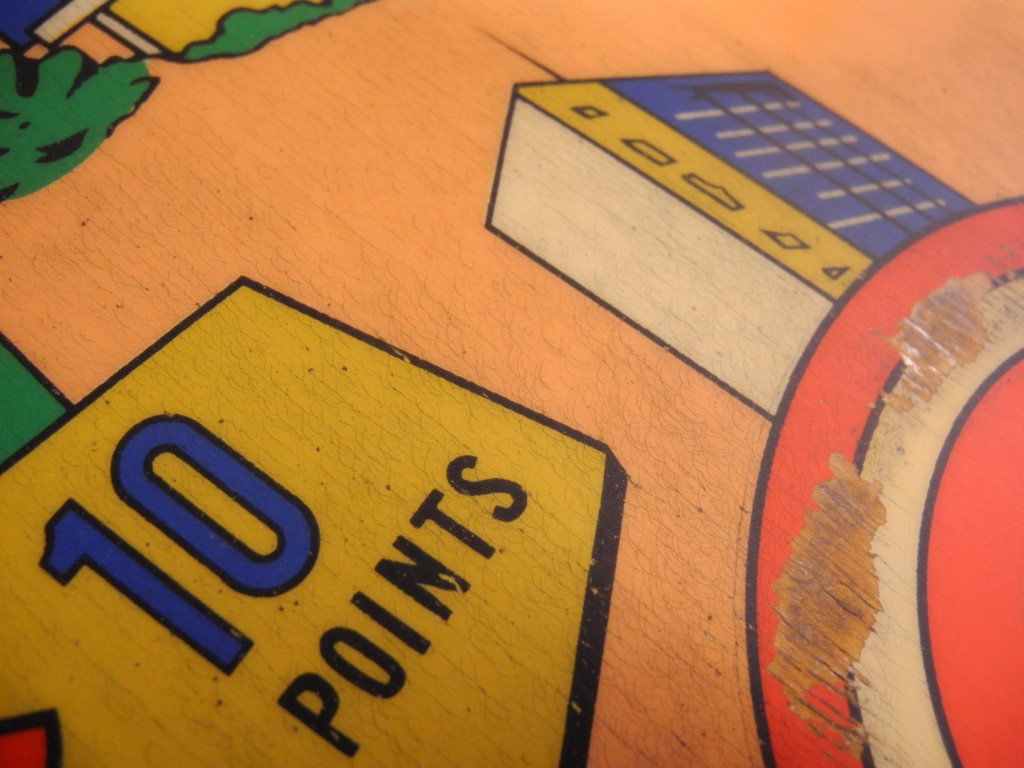
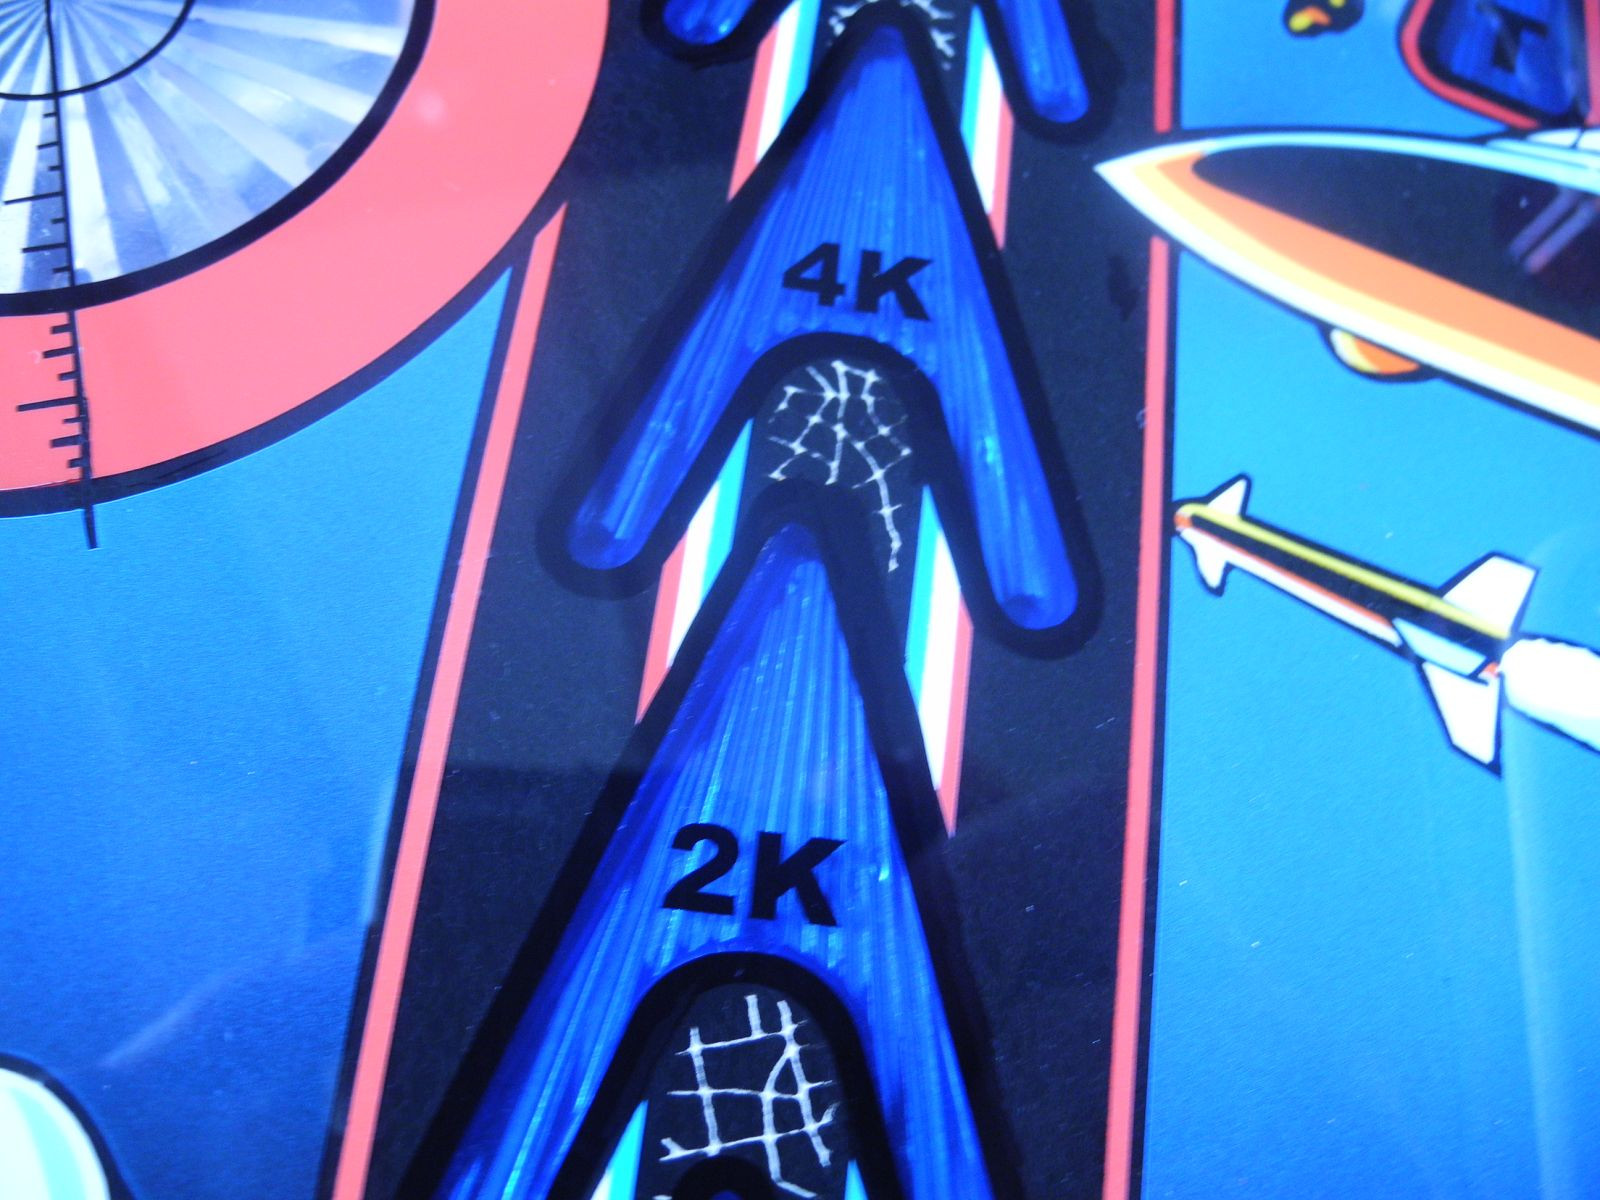
Due to various environmental influences, the original lacquer of the playing fields cracks over time. Especially with older playfields, you often see a lot of evenly running, parallel cracks on the entire playfield. Dirt inevitably penetrates into these cracks and settles there very deeply. This dirt in the cracks of the paint is called "crow's feet". Most of the time, you see these in light colors on the pitch. This dirt sits so deep that it is usually impossible to remove. On newer pitches, it can sometimes be fixed with a special method. In most cases, however, you have to re-brush ALL the affected surfaces, because the dirt has simply penetrated too deeply.

Repairing defective inserts
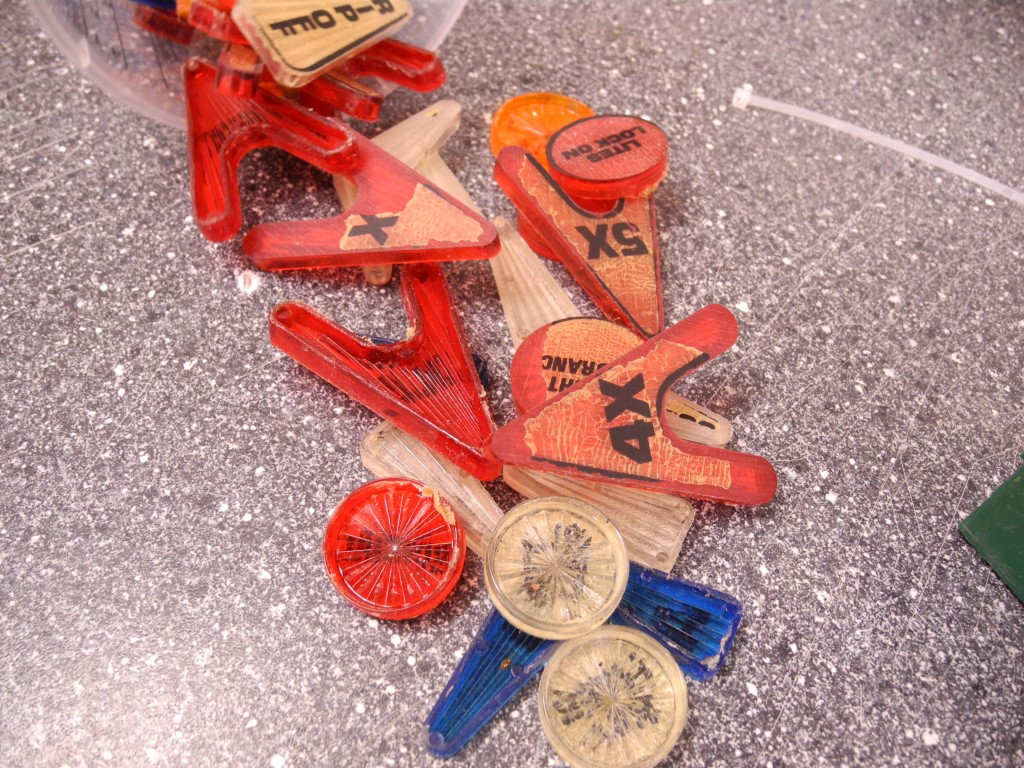
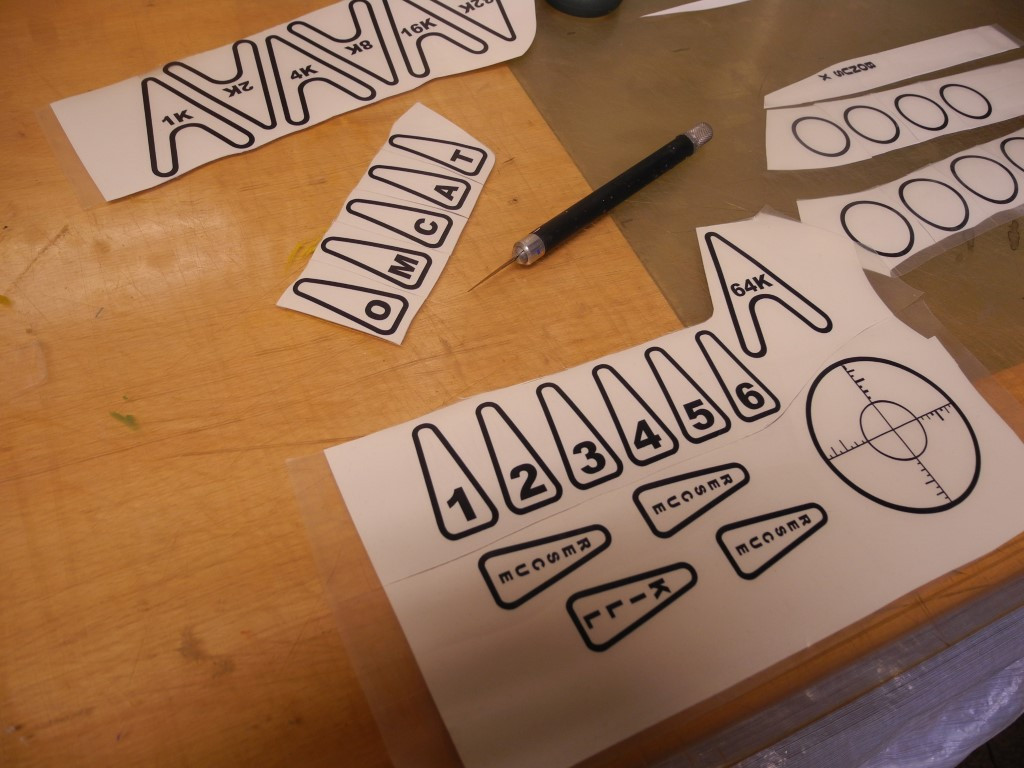
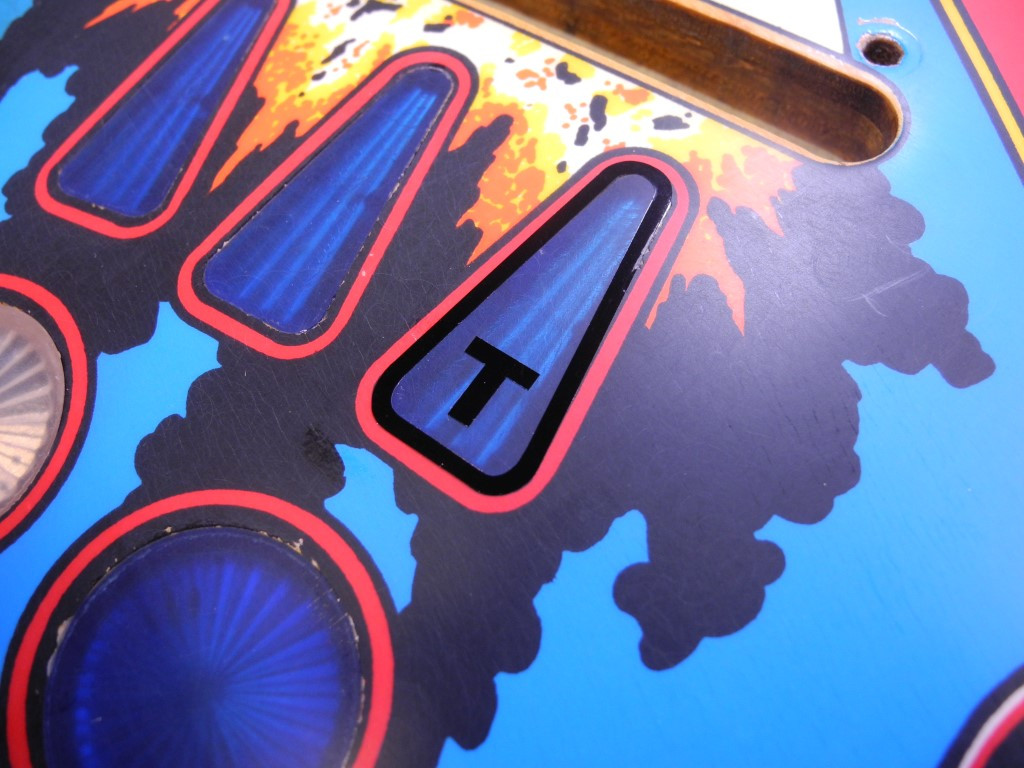
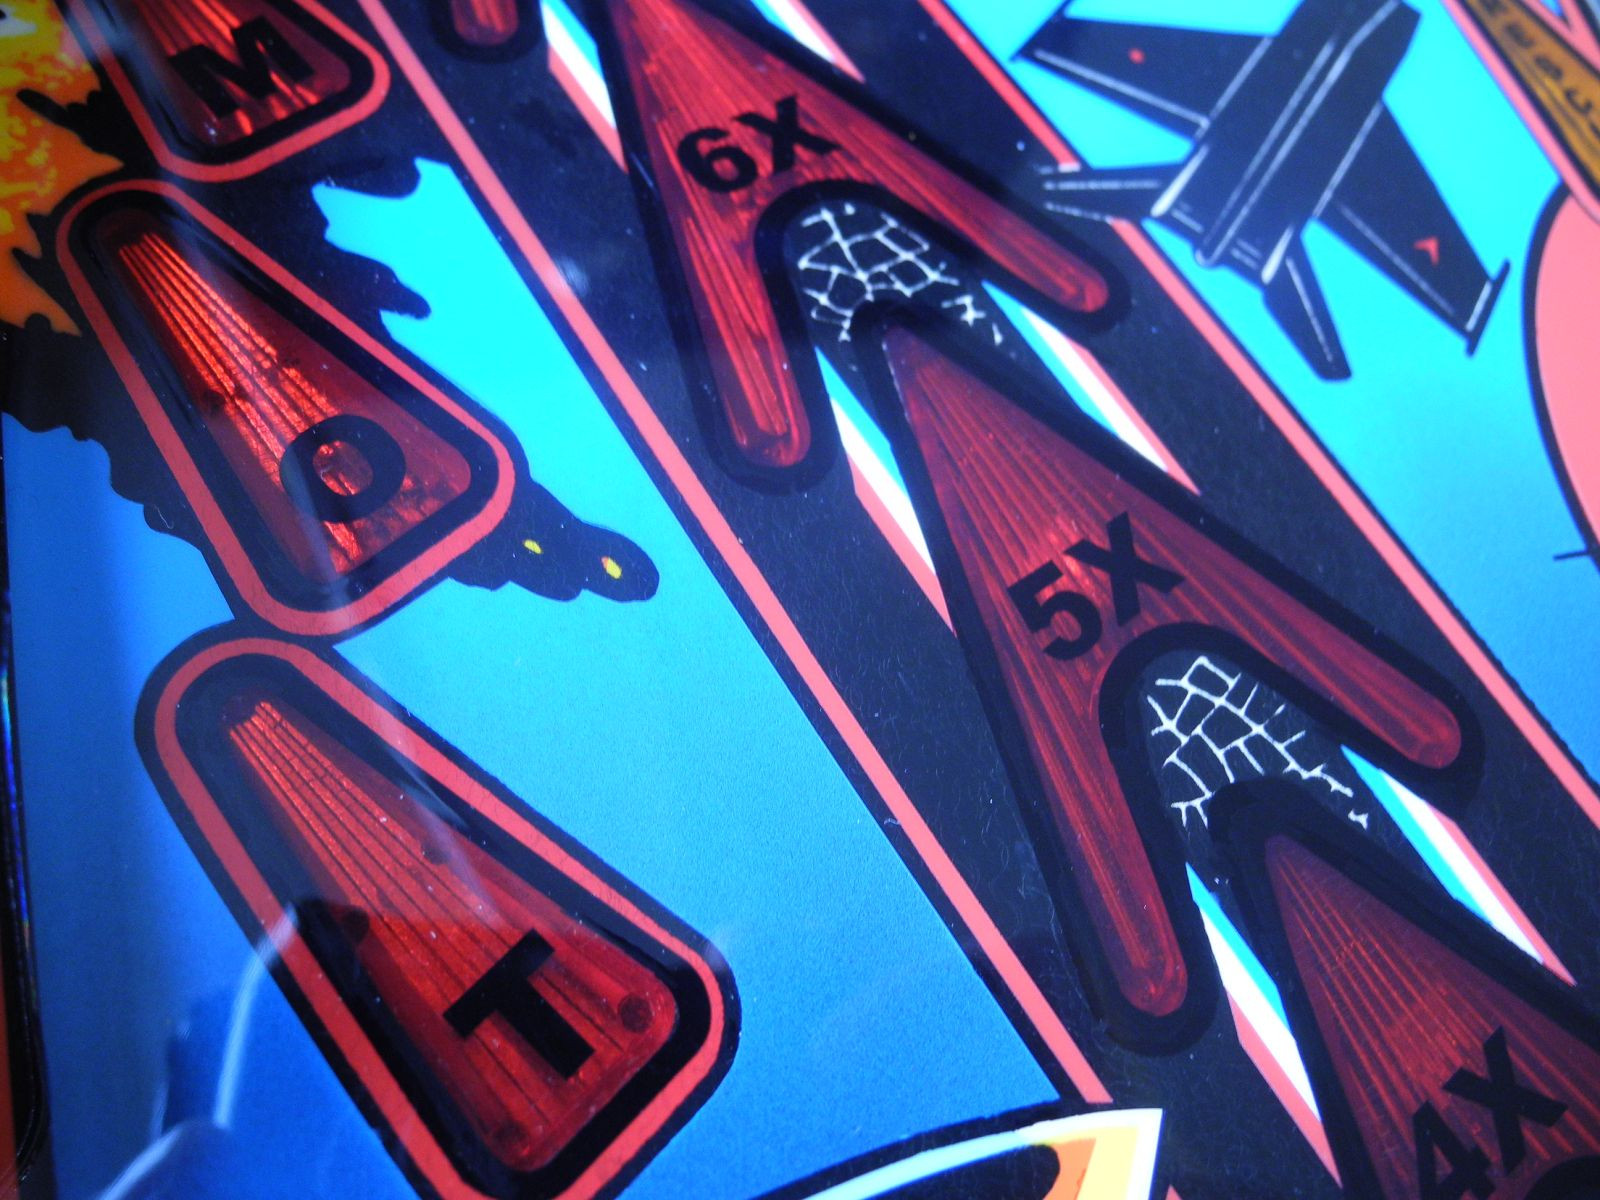
Often the inserts' lettering is damaged. This can have many reasons: the inserts sink over time or are even raised above the playing field. As a result, the ball rolls over the edges of the inserts and wears away material. Also, as described, the coating of the inserts loosens due to heat, so that they either "draw air" or even become porous and cracked. In such a case, the inserts are removed from the playfield, sanded down, polished and glued back together. After painting, new insert decals are applied. Whenever possible, we vectorize the insert decals and plot them from opaque black film. This gives a much better result than using insert decals made from printed self-adhesive film, since a print can never produce as dense a black as cast, pure black film.





Preparations for the first painting
 Why do we even mention this point ? It seems to be a job that is done quickly. The opposite is often the case. All cables and assemblies under the playfield must be fixed. The entire lower playfield must be "wrapped" in paint paper to prevent any paint from touching the playfield parts. Also, all lamp bases and other holes on the top of the playfield must be protected. These preparations can sometimes take as little as 2 hours.
The first paints -creating a base
 Before we can start with the actual touch-ups, a perfect, closed, even surface must be created. Due to the heat of the lamps, the inserts (plastic inserts of the playing field) often shrink over time. real "craters" form around the inserts. Here the varnish simply flows away during the first varnishing. Only when these gaps are completely filled with paint, we can start with the touch-ups, because of course the airbrush paint would simply run into these gaps and thus no homogeneous picture can result. As a rule, we paint a pitch about 2-4 times (including appropriate intermediate sanding) before the actual work can begin.
Restoration by airbrush and brush
 Once the playing field has a perfect, even, closed surface, the actual restoration of the playing fields begins. The restorations are done with airbrush technique and brush. Below we give a brief overview of how we work here. Also we have prepared some complete restoration reports and show the whole process on selected playing fields.
Predominantly pure handwork
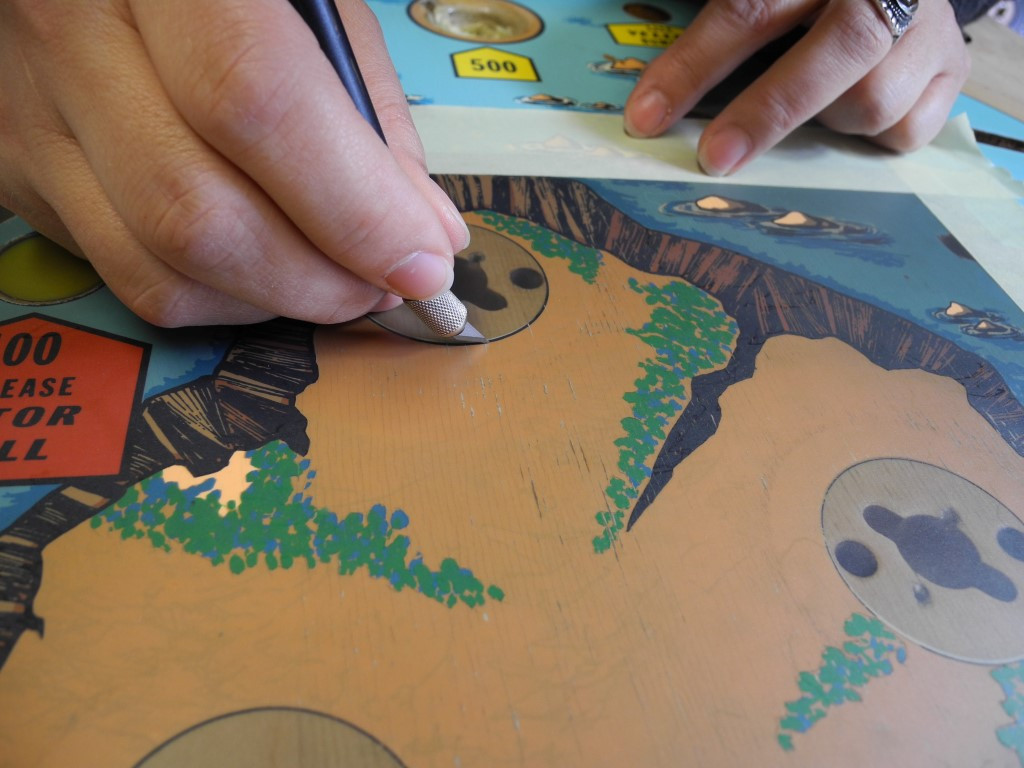
Most of the work is done by hand. A masking film is applied to the areas to be restored and then cut out using a scalpel before the areas are brushed. In this way, all damaged areas are restored successively.
The cutting plotter (injection templates)
Using a cutting plotter, injection molding templates are created for standard shapes such as circles, arrows, lettering, etc.. To do this, the areas are scanned, the shapes vectorized on the computer and plotted out of masking film using a plotter.


Details
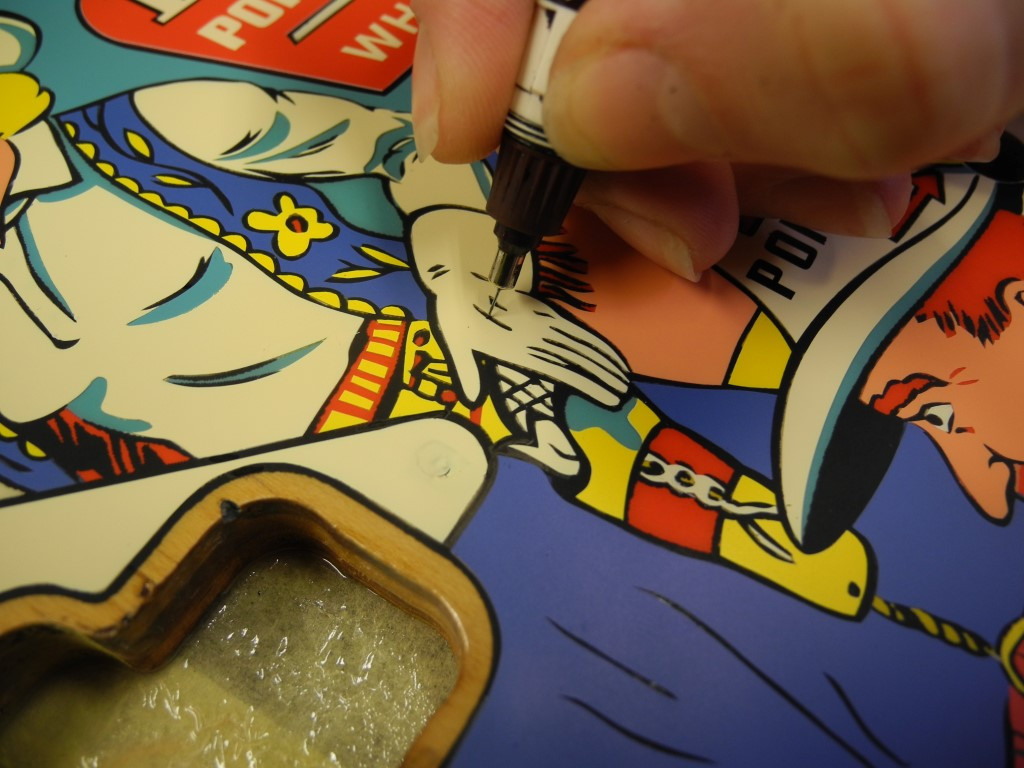
Many playing fields show the finest details in the graphics. These are completed or repainted by hand using brushes and drawing pencils based on templates and images.

Screen printing gradients
All playing fields were originally printed using the screen printing process. This coarse screen of the screen can be seen especially in color gradients. If these areas show damage, the gradient must be completely renewed. The structure of the screen print is inevitably lost in the process, as the screen print cannot be simulated.

Degree of restoration
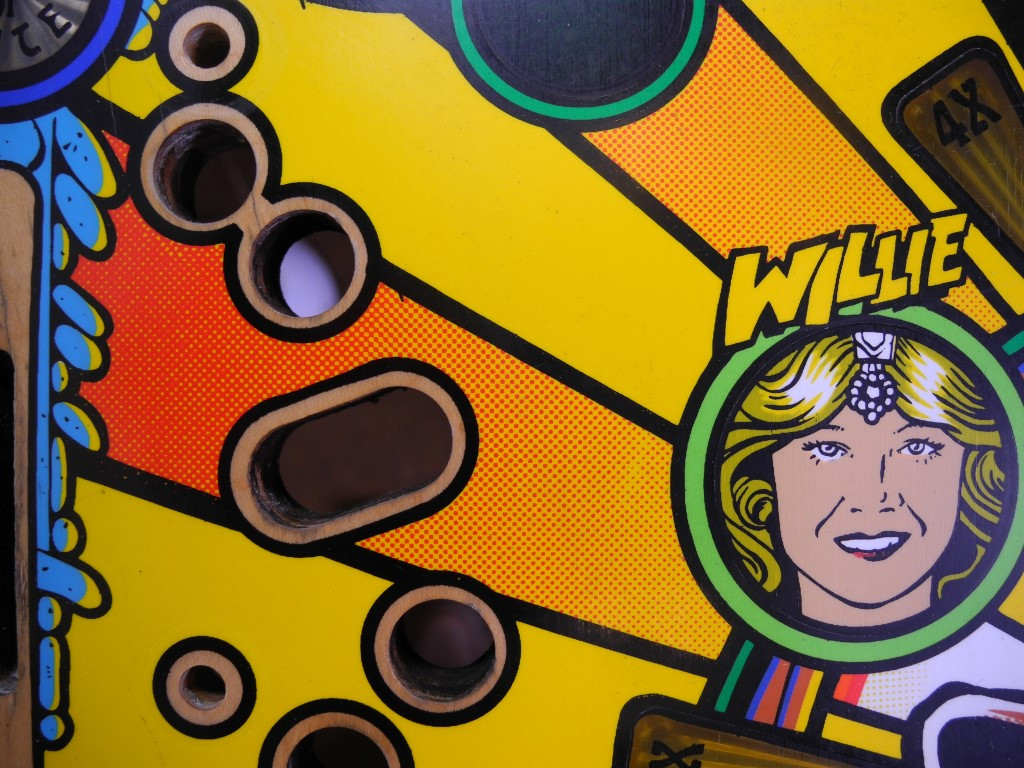
This is very simple - ALL visible damage, even the finest hairline cracks around the inserts are corrected. Often large areas of the field have to be rebrushed just to remove a minimal damage. Even if the color is 99% accurate, it is often necessary to rebrush entire areas, because otherwise the repairs would be visible. So color by color, lettering by lettering is successively re-brushed until the finished playing field.
"Wood color"
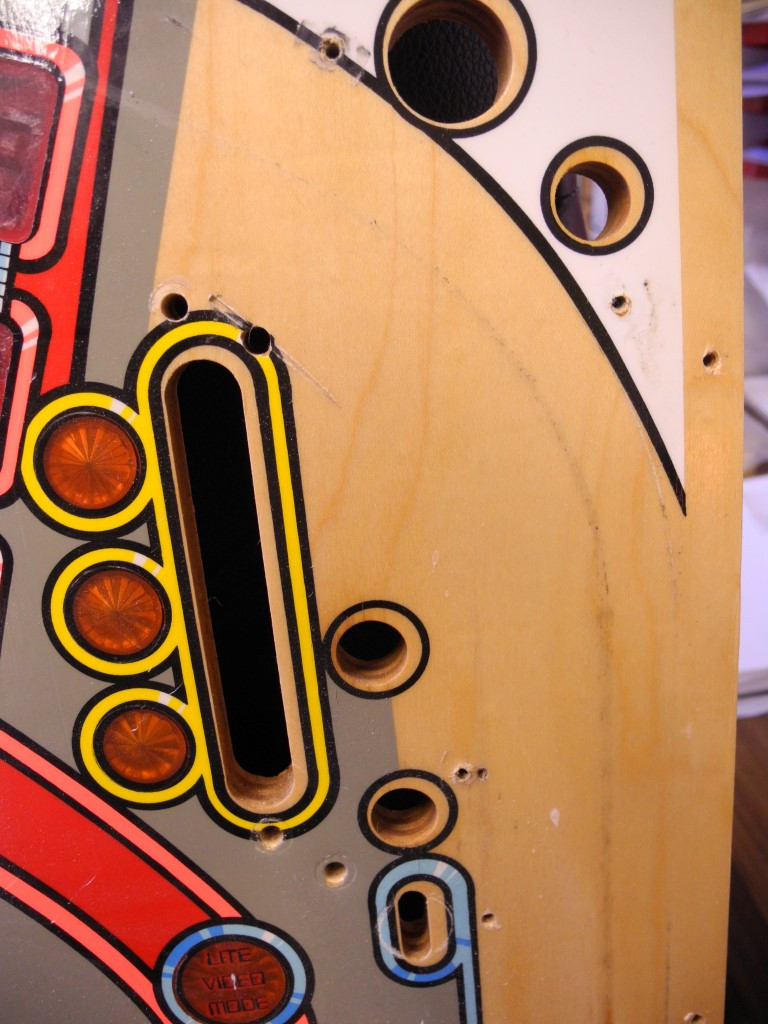
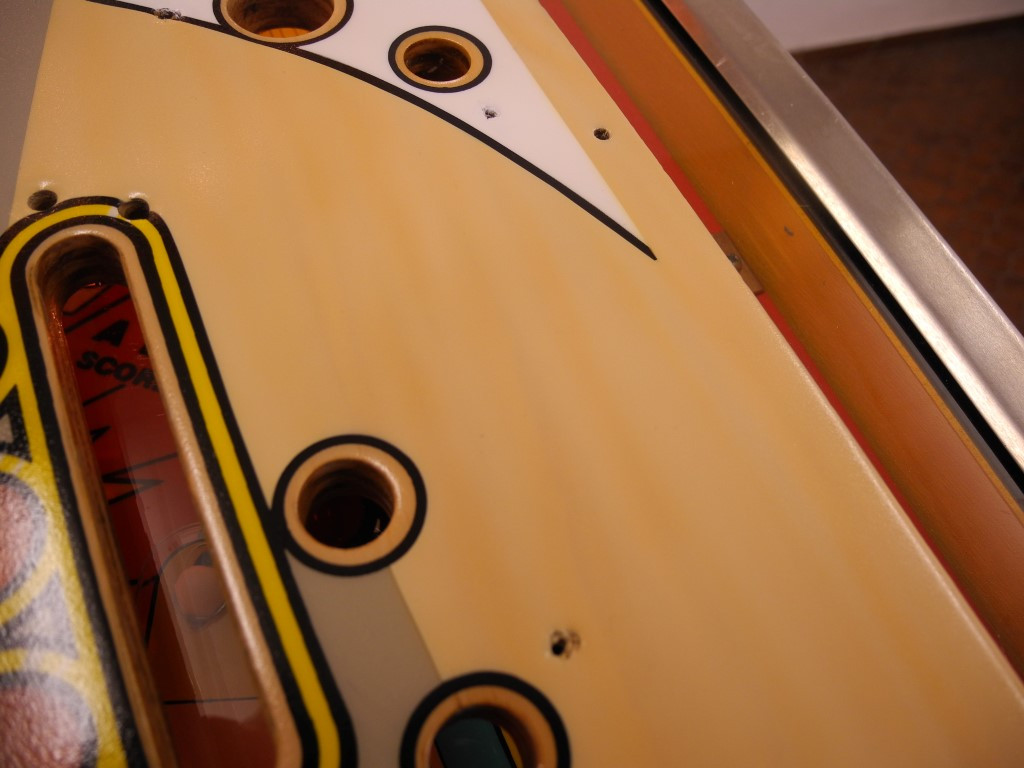
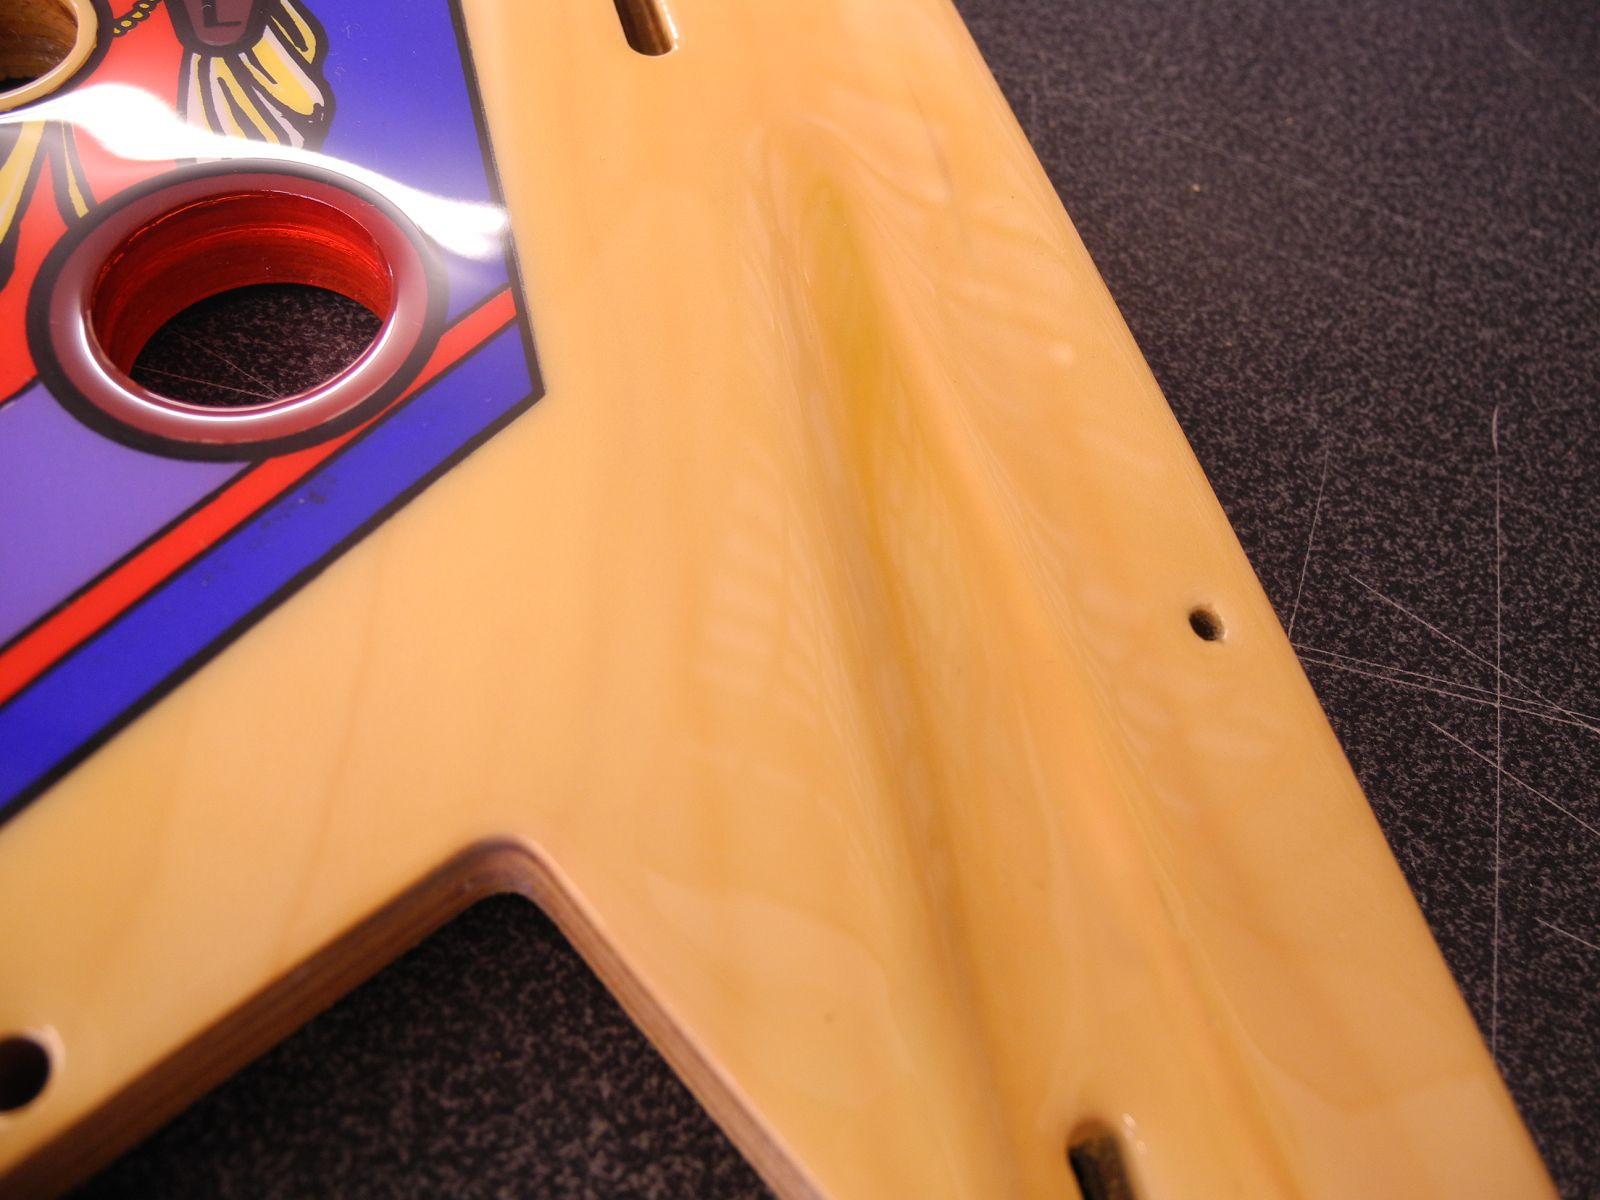
Actually ALL playfields show damage in the wood area. For example, the shooter lane, various ejection holes and contact slots are usually damaged and need to be restored. To restore the natural look, we usually spray a few different shades of wood wet in wet on top of each other. In this way, we imitate the natural product wood with all its color facets. Finally, we use very fine airbrush lines to simulate the grain of the wood and thus create the impression of natural-looking wood.

Renewal of lettering
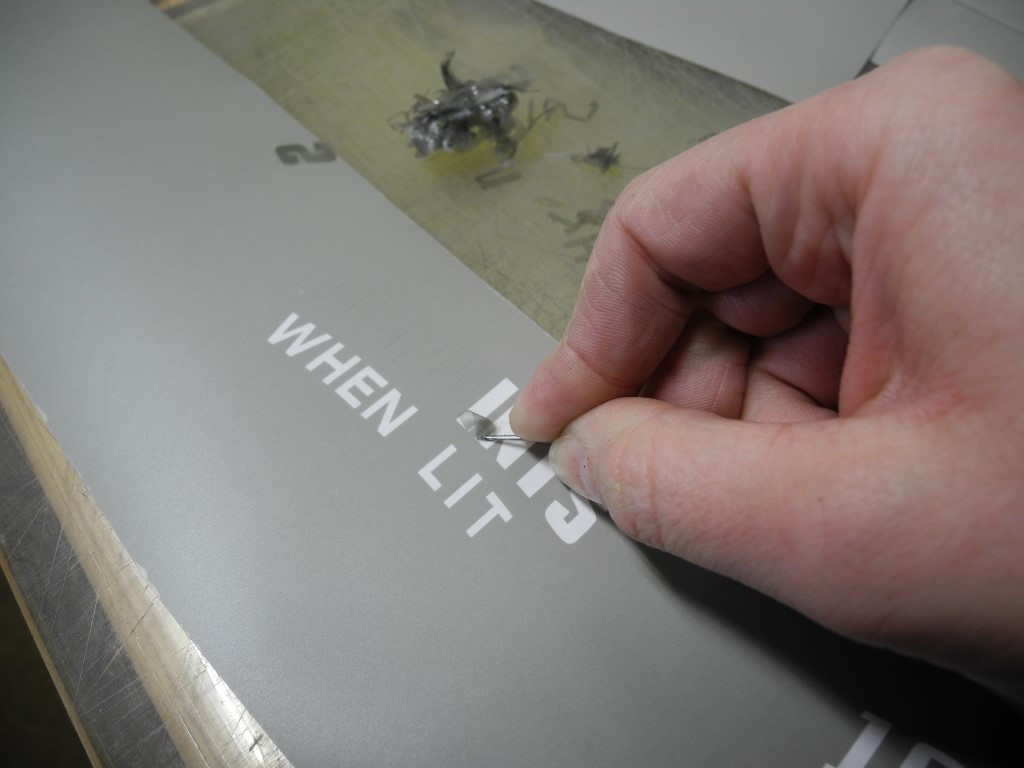
Especially essential for older playing fields: to make the restoration perfect, the lettering is usually completely renewed. For this purpose, the playing field is first scanned as described, then the inscriptions are reconstructed. This is often a difficult task, as the fonts used at the time no longer exist. Many fonts have to be reconstructed "by hand" if the corresponding font is not available.


Final varnishing and finishing of the paint
Once the retouching is complete, the playing fields are painted again approx. 2-3 times with appropriate intermediate sanding until the surface is even and smooth. After that, the so-called finishing of the last lacquer layer takes place. Here, the surface is sanded by hand with sandpaper in grit 2000-2500-3000 and then the high-gloss finish is made using a polishing machine and sanding paste. This gives a perfect, even, high-gloss surface. Finally, the playing fields are waxed with pure carnauba wax.